How to Make a Two-Minute Speaker Demo Reel From Footage You Already Have
Make a two-minute speaker demo reel without a film crew: what footage to collect, a simple three-part structure, editing tips and where to share it.
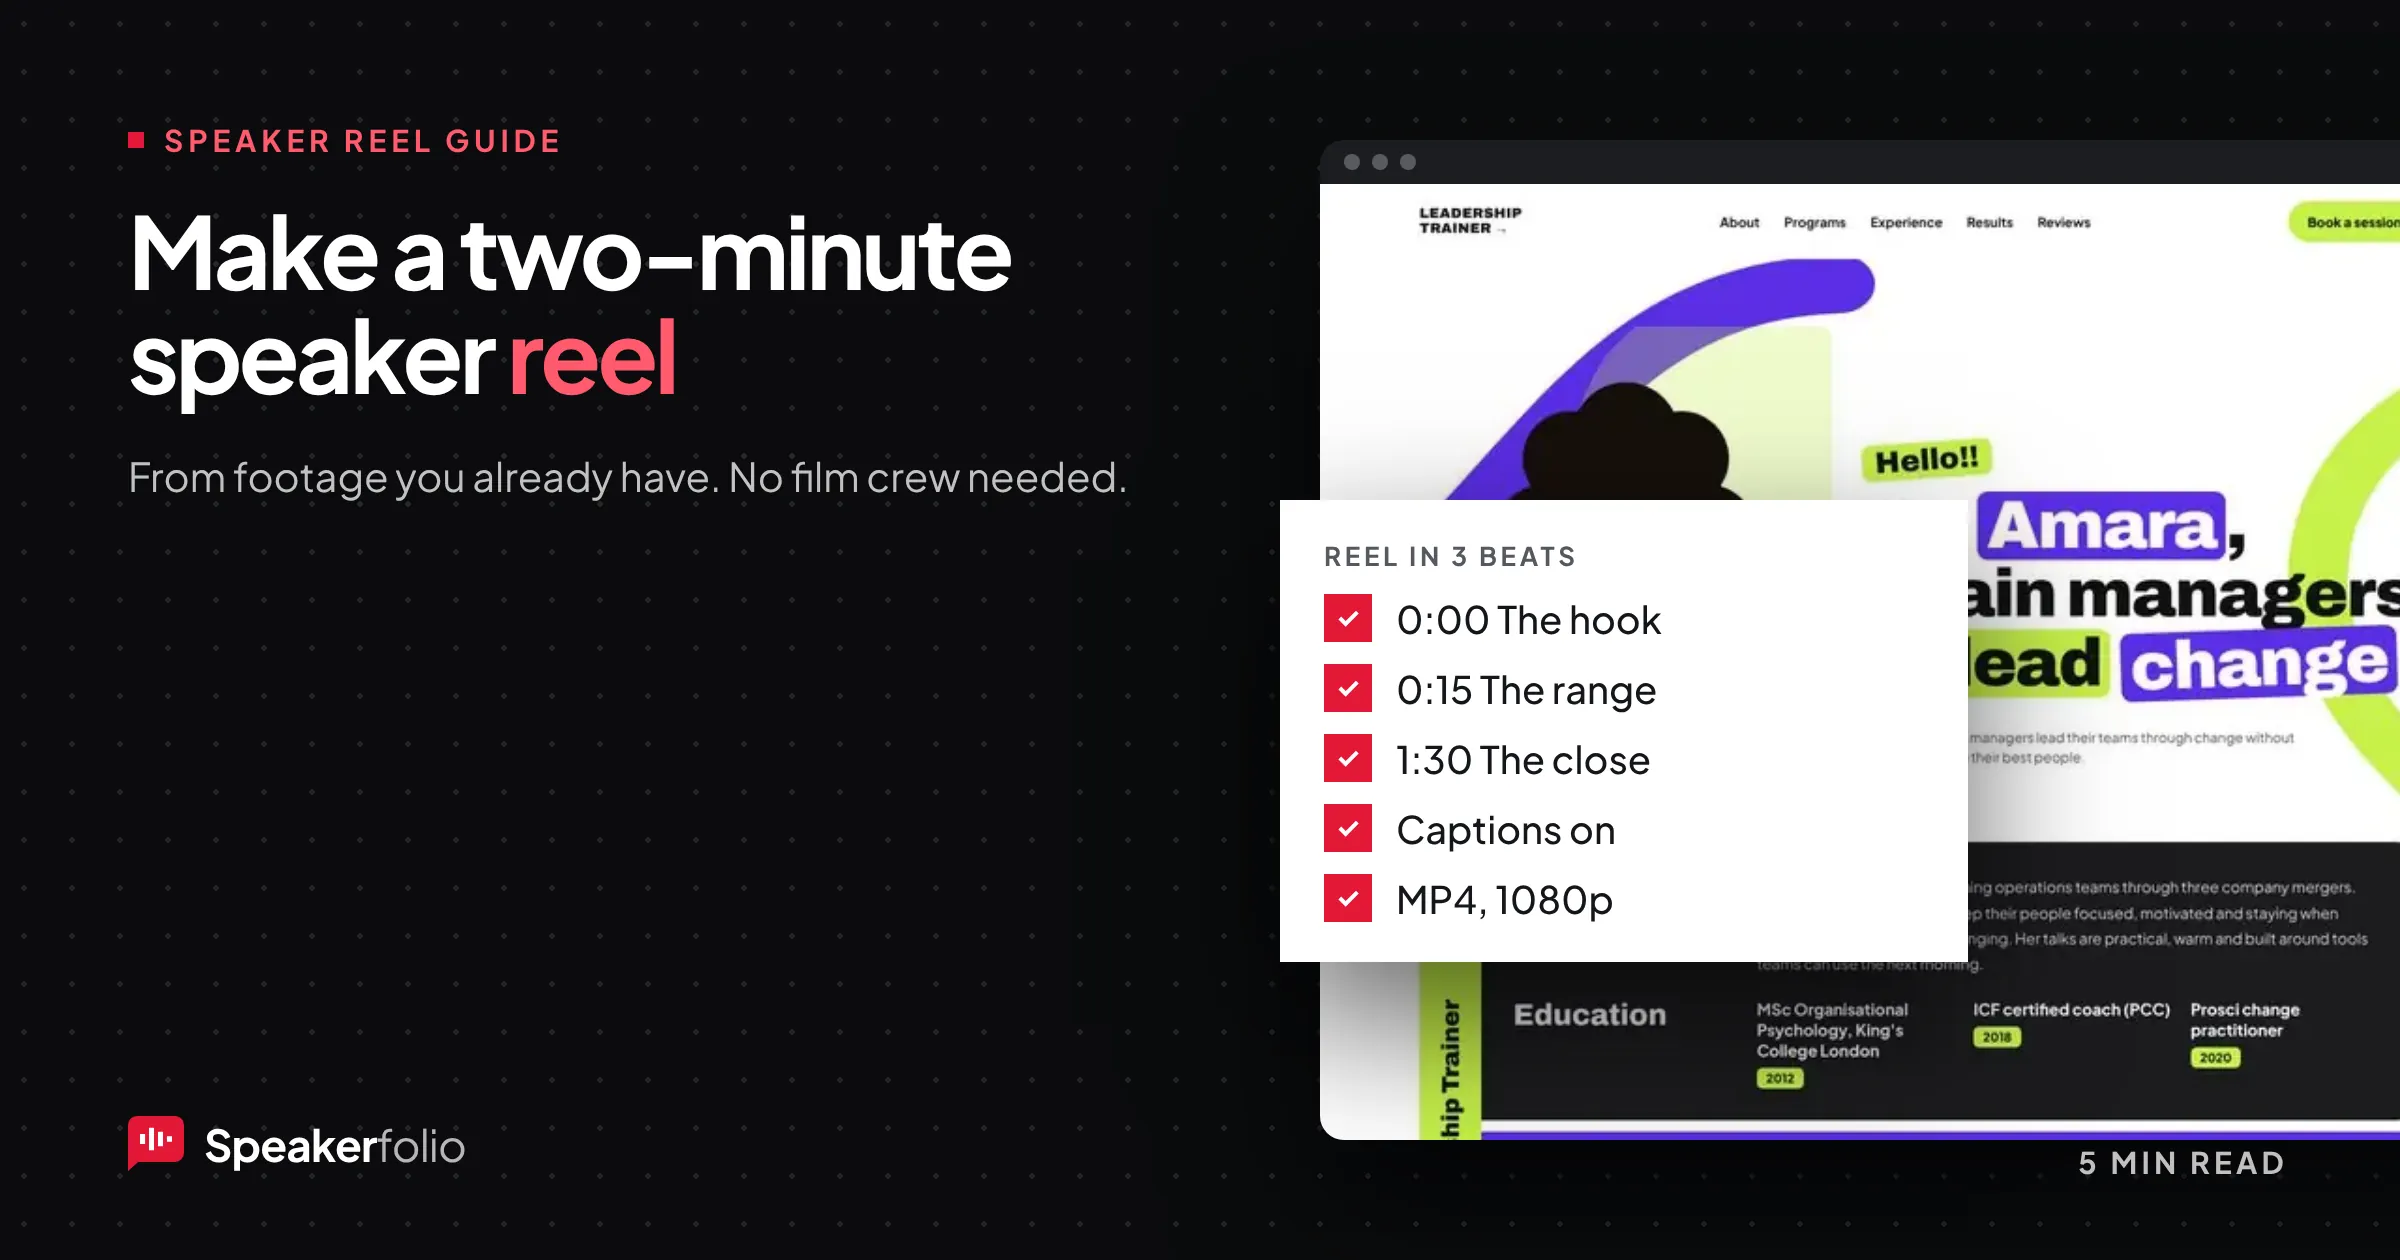
A planner rarely watches a 45-minute talk before shortlisting you. They will watch two minutes. A speaker demo reel shows your energy, your stage presence and the audience reacting, all in the time it takes to finish a coffee.
You don't need a film crew to make one. Event recordings, phone clips from the audience and clear audio are enough. This guide shows you what footage to collect, how to structure a two-minute reel, how to edit it with free tools, and where to put it so planners actually see it.
Why every speaker needs a demo reel
Video is the closest a planner gets to seeing you live. A reel answers the question your bio and testimonials can't: are you good on stage?
A reel also travels. Planners forward it to their committee, bureaus put it on your profile, and you can pin it to LinkedIn. One short video does more selling than a page of text.
Demo reel vs full-length talk
You need both, for different jobs.
| Demo reel | Full-length talk | |
|---|---|---|
| Length | 2 to 4 minutes | 10 minutes or more, uncut |
| Purpose | Get you shortlisted | Prove you can hold a room |
| Who watches | Planners skimming many speakers | Committees making the final call |
| Where it goes | Top of your website, LinkedIn, emails | Your website and YouTube |
Start with the reel. Add a longer uncut clip when you have a good recording.
Step 1: Collect the footage you already have
You likely have more usable footage than you think.
- Ask past organizers for their recordings. Many events film the main stage. A short, friendly email asking for the file is usually enough.
- Search your phone and email for clips people sent you after events.
- Check LinkedIn, Instagram and event hashtags for videos audience members posted. Message them and ask for the original file.
- Look for audience reactions: laughter, applause, people leaning in, hands raised. Even 20 seconds of a laughing room is useful.
- Find podcast or webinar recordings if you've been a guest. A good soundbite works even without stage footage.
Always ask permission before using someone else's recording, and check that event branding can appear.
Step 2: Structure your reel in three beats
A two-minute reel works best with a simple shape. Here's a structure you can follow:
| Time | Beat | What to show |
|---|---|---|
| 0:00 to 0:15 | The hook | Your strongest 10 to 15 seconds: a line that makes people lean in |
| 0:15 to 1:30 | The range | A short story, a point that lands, a moment with the audience, a laugh |
| 1:30 to 2:00 | The close | Applause, a wide shot of the room, your name, topic and website |
Open with your strongest moment
Don't start with a logo or a slow walk onto the stage. Start with the line people quote back to you. Planners decide in the first few seconds whether to keep watching.
Show range, not just highlights
Mix a serious moment with a light one, a story with a practical point, and at least one shot of the audience reacting. Planners want to see that you connect with people, not just that you have good slides.
Close on your name and topic
End with applause and a simple title card: your name, what you speak about, and your website. Keep it on screen for three or four seconds.
Step 3: Get the sound right
Viewers forgive a shaky shot. They don't forgive muddy audio.
- Choose clips where your voice is clear, even if the picture is less perfect.
- Turn music down under speech, or leave it out.
- Add captions. Many planners watch with the sound off, especially on LinkedIn and on phones. Most editing apps can generate captions automatically; check them for mistakes.
- Keep volume even between clips so nobody has to reach for the volume button.
Step 4: Edit with free tools
You don't need expensive software. Free options include CapCut, DaVinci Resolve and iMovie on a Mac or iPhone. Pick the one you find easiest; the editing steps are the same:
- Put all your clips in one project.
- Cut each clip down to its best seconds.
- Arrange them in the three-beat structure.
- Add captions and a title card at the end.
- Export as an MP4 in 1080p.
Tip: Watch the finished reel on your phone with the sound off. If it still makes sense and still makes you look good, it's ready.
Step 5: Put your reel where planners will see it
- YouTube: upload it as public or unlisted and use that one link everywhere. Give it a clear title, like "[Your name] speaker demo reel: [topic]".
- Your website: near the top of the home page, not on a separate media page. Every Speakerfolio template has a stage video section for exactly this.
- LinkedIn: add it to the Featured section of your profile.
- Emails to planners: link to it in the first message, not as an attachment.
- Your speaker one-sheet: add the link or a QR code.
Video is one of the five sections every speaker website needs.
Common speaker reel mistakes
- Too long. Over four minutes and planners stop watching.
- Slow opening. Logos, intros and walk-ons waste the most valuable seconds.
- Slides instead of you. Planners want to see you, not your presentation.
- No audience. Without reactions, it's hard to judge how you land with a room.
- Old footage. If your reel is five years old, planners assume your current talks aren't as strong.
- Autoplay with sound on your website. It annoys visitors; let them press play.
Frequently asked questions
How long should a speaker demo reel be?
Two to four minutes. Two minutes is ideal for a first look. Pair it with a longer, uncut clip of 10 minutes or more for planners who want to see a full section of a talk.
Can I make a speaker reel without professional footage?
Yes. Event recordings, clips from audience members and phone videos all work, as long as your voice is clear. Ask permission before using other people's recordings.
What should a speaker reel include?
Your strongest opening line, a short story, a practical point, audience reactions such as laughter and applause, and a closing card with your name, topic and website.
Should I add captions to my speaker reel?
Yes. Many planners watch with the sound off, especially on LinkedIn and phones. Captions make sure your message still lands.
Where should I upload my speaker reel?
Upload it to YouTube and use that link on your website, in the Featured section of LinkedIn, in emails to planners and on your speaker one-sheet.
Your reel is your best first impression
Collect the footage you have, cut it into three beats, get the sound right and put it where planners look first. Two good minutes of video can do more for your bookings than any amount of text.
Speakerfolio puts your reel at the top of a free speaker website, next to your talks and booking form. Get your free speaker website.

Saleh is a UI/UX and web designer with more than five years of experience and the founder of Speakerfolio, where he builds websites that help speakers get booked. He specialises in conversion-focused design and on-page SEO.
Connect on LinkedIn